


Let talk follow your way!
Best price High quality Quick & efficient
Let talk follow your way!
Best price High quality Quick & efficient
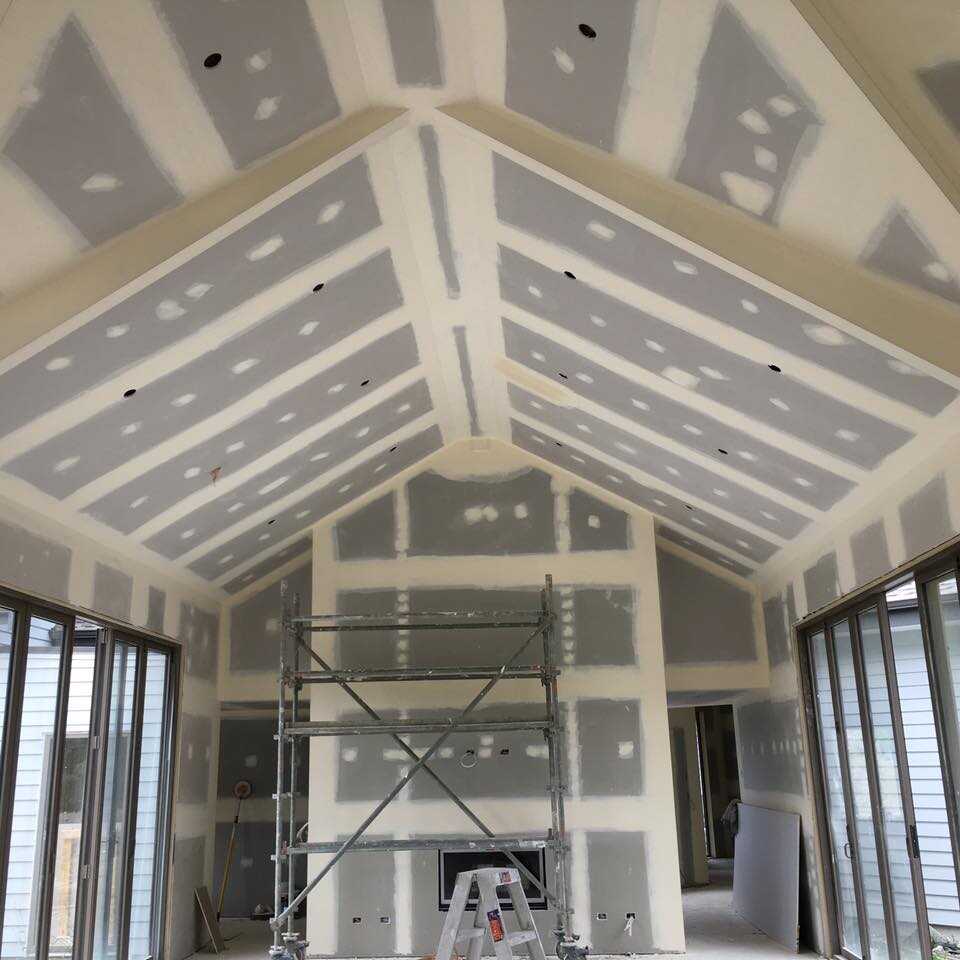
Insulated plasterboard is one of the most effective ways to improve the thermal performance and comfort of a building. It combines a layer of insulation with plasterboard, reducing heat loss through walls or ceilings while providing a smooth surface ready for decoration. As the owner of Pro Fixing®, I often get asked about the best way to install insulated boards and whether it is any different from regular plasterboard fixing in Auckland. This guide will walk you through the key points: choosing the right thickness, understanding core types, picking a suitable installation method and fixing insulated boards to different substrates.
Installing insulated plasterboard (sometimes called insulated GIB board or drywall) can make a big difference in energy bills and comfort. By adding insulation directly to the wall lining, you reduce thermal bridges and create a more consistent temperature throughout the home. This approach is ideal when interior space is limited or when you want to upgrade the insulation of an existing room without building a new external wall.
An insulated board consists of a sheet of plasterboard bonded to an insulation layer. There are several core types and thicknesses, so choosing the right one depends on how much insulation you need and how much space you have available. Proper installation ensures that the insulation performs well and that the finished wall looks seamless.
One of the first decisions you’ll need to make is the thickness of the board. Thicker boards offer better insulation, but they also take up more space and may require different fixing methods. Thinner boards are easier to handle and fit into tight spaces, but they won’t perform as well thermally.
When selecting the thickness, think about the room’s purpose and your thermal goals. In a living room or bedroom you might opt for a thicker board to maintain a comfortable temperature year‑round. In a kitchen or utility room, where space is at a premium, a slightly thinner board may be more practical.
Understanding these differences helps you select the right product for your project. Remember that insulation values can vary between manufacturers, so always check the thermal performance (R‑value) of the board you choose.
Insulated plasterboards come with different core materials, each offering distinct advantages. Knowing the options will help you decide which suits your needs.
Phenolic core boards have a high thermal performance with a relatively thin profile. They provide excellent insulation and fire resistance, making them ideal for tight spaces where you still want significant thermal benefits.
PIR core (polyisocyanurate) boards offer a balance between thickness and thermal efficiency. They are also known for their fire‑resistant properties and are suitable in areas where additional fire protection is required. This core type is popular for both residential and commercial projects.
EPS core (expanded polystyrene) boards are a cost‑effective solution. While they don’t offer the same level of thermal performance as phenolic or PIR boards, they are lighter and easier to handle. EPS boards are a good choice when budget is a priority or when the insulation requirements are lower.
Each of these boards can improve the energy efficiency of your home, but they must be installed correctly to perform as intended.
Different installation methods suit different situations. Your choice will depend on the type of wall or ceiling, the weight of the board and whether you have space for mechanical fixings. Here are three common techniques:
The dot & dab technique involves applying dabs of adhesive to the wall and pressing the insulated board into place. It’s suitable for solid walls like brick or concrete and is popular because it is fast and allows some adjustment to achieve a level surface. Use a spirit level to check alignment as you work.
After the board is positioned, apply pressure along the dabs to ensure a strong bond. Once the adhesive has cured, seal the joints with tape and jointing compound. This method provides a firm finish with minimal mechanical fixings.
When walls are uneven or not suitable for adhesives alone, mechanical fixings provide a secure attachment. This involves screwing through the insulated board and into the wall structure. For example, if you are fixing to timber studs, you can use long drywall screws that penetrate both the insulation and the studs.
The mechanical fix technique requires careful measurement to avoid piercing electrical cables or pipes. It is often used in conjunction with adhesives for extra stability. While it takes more time, it ensures the board stays firmly in place.
Adhesive foam is another option for attaching insulated boards. It provides a strong bond that conforms to irregular surfaces and fills small gaps. The foam expands as it cures, so careful application is essential to avoid pushing the board out of alignment.
Once the board is in place, allow the foam to cure fully, then seal the joints as usual. This method can be particularly useful when working with uneven concrete or brick walls.
Before starting your project, ensure that your installation meets local building regulations. In New Zealand, there are minimum insulation requirements, moisture control standards and fire safety codes to follow. Regulations may dictate the thickness and type of board you need, so consult the latest standards or speak with a professional if you are unsure.
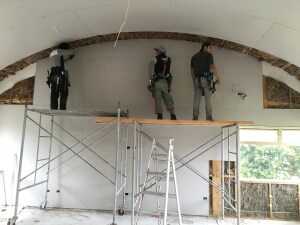
Safety should be a priority. Use appropriate protective equipment when cutting and handling plasterboard, and never work with heavy boards without support or assistance. Lifting boards overhead can cause strain or injury; we recommend using a plasterboard lifter or working with a partner when installing boards on the ceiling.
Insulated plasterboard can be fixed to various substrates. The method you choose will depend on the surface and your comfort level with DIY work.
Begin by cleaning the brickwork and removing dust or debris. Apply adhesive (such as the dot & dab method) directly to the back of the board. Press the board firmly against the brick wall, adjusting it into position with a spirit level. You may add mechanical fixings around the edges for extra strength. Once the boards are in place, tape and joint the seams to create a smooth finish.
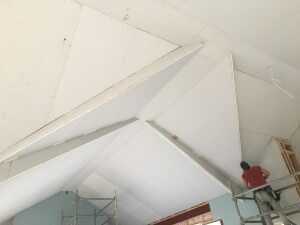
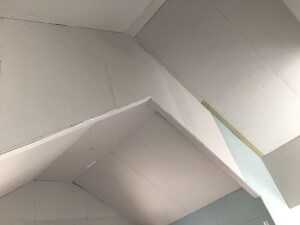
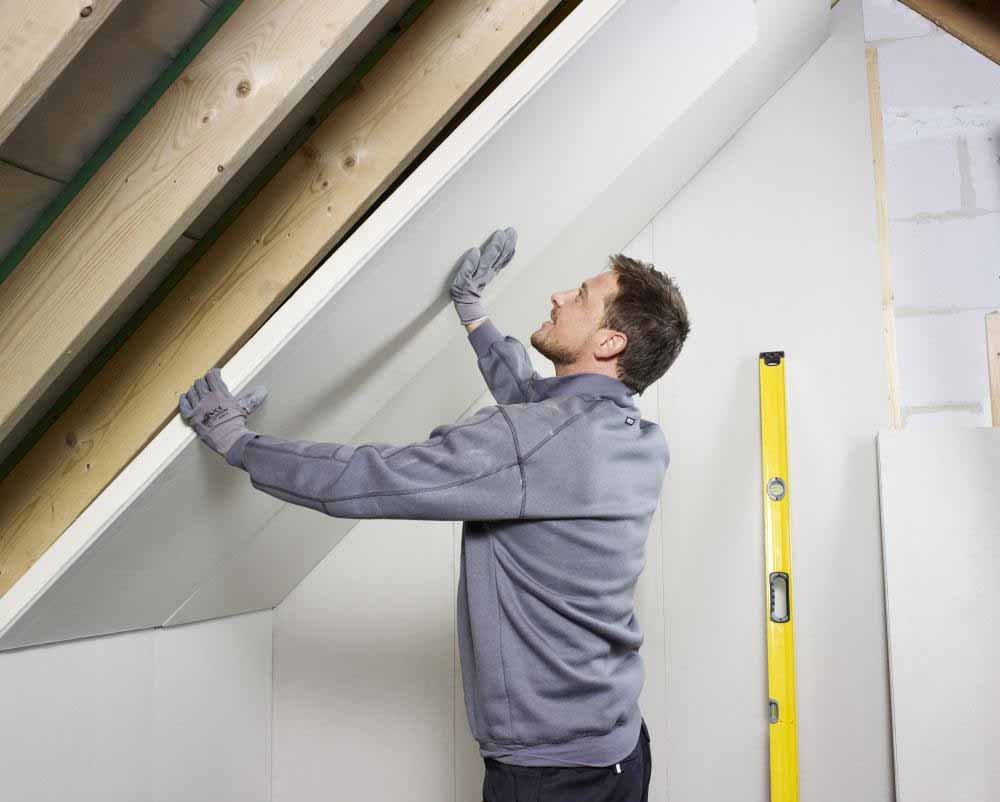
When installing insulated boards between rafters, measure each cavity carefully to ensure the boards fit snugly. A vapour barrier or insulation layer between the rafters may be required to prevent condensation. Screw the boards to the rafters using screws long enough to penetrate both the insulation and timber. Fill gaps with insulation tape or foam to minimise thermal bridging, then tape and compound the seams for a seamless ceiling finish.
This technique is common in modern construction. Check that the timber frame is stable and free of damage, then measure and cut the boards to fit between the studs. Start from one corner and use a spirit level as you fasten the boards to the studs. In high‑traffic areas or where additional support is needed, you can combine adhesive and mechanical fixings. As always, seal the joints and screw heads before moving on to decorating.
Concrete walls require a strong adhesive suitable for masonry. Clean the surface thoroughly, removing any loose material. Apply adhesive either in dabs or vertical strips, then press the board against the wall to achieve a firm bond. Heavy boards may require the addition of screws with masonry anchors for stability. Use a level to ensure alignment, and finish with joint tape and compound.
Ceiling installations are more challenging due to overhead work and the weight of the boards. First, check that the joists or beams can support the additional load. Measure and cut the boards carefully to fit snugly against neighbouring boards and walls. A plasterboard lifter or an extra pair of hands makes lifting easier and safer. Screw the boards to the joists at regular intervals, ensuring that edges are properly supported. Seal the joints with tape and compound, and sand them smooth before painting or finishing.
Stone walls can be uneven and require special care. Begin by cleaning and levelling the surface as much as possible. Use a strong adhesive compatible with stone; apply it in vertical strips or dabs. Press the board firmly into place, using additional mechanical fixings for heavy boards or if the stone surface is unstable. Tape and joint the seams afterwards to achieve a neat finish.
The principles for solid walls like brick or concrete apply here too. Prepare the wall, apply adhesive or a combination of adhesive and mechanical fixings, and press the board into place. Heavy boards may need additional screws for support. A spirit level will help ensure the boards remain straight as you work across the wall.
Proper installation of insulated plasterboard enhances your home’s comfort and reduces energy costs. It’s an investment in both warmth and value. If you’re interested in how plasterboard compares with other options, you might enjoy our article on Is GIB® the same as plasterboard?. And if you decide that installing insulated boards yourself is more than you want to tackle, get in touch with us at Pro Fixing®. We handle everything from interior plastering to painting and tiling, so you get a professional, seamless result from start to finish.
Pro Fixing®: Best price, high quality, quick & efficient.


We have a large team of 86 highly qualified GIB® Fixers, Stoppers & Painters in Auckland, Wellington, Hamilton with more than 10 years experience. We are prepared for all jobs from residential to large scale commercial sites…Read More
Mon to Fri: 7AM - 5PM
Saturday: 8AM - 4PM
Sunday: Closed