


Let talk follow your way!
Best price High quality Quick & efficient
Let talk follow your way!
Best price High quality Quick & efficient
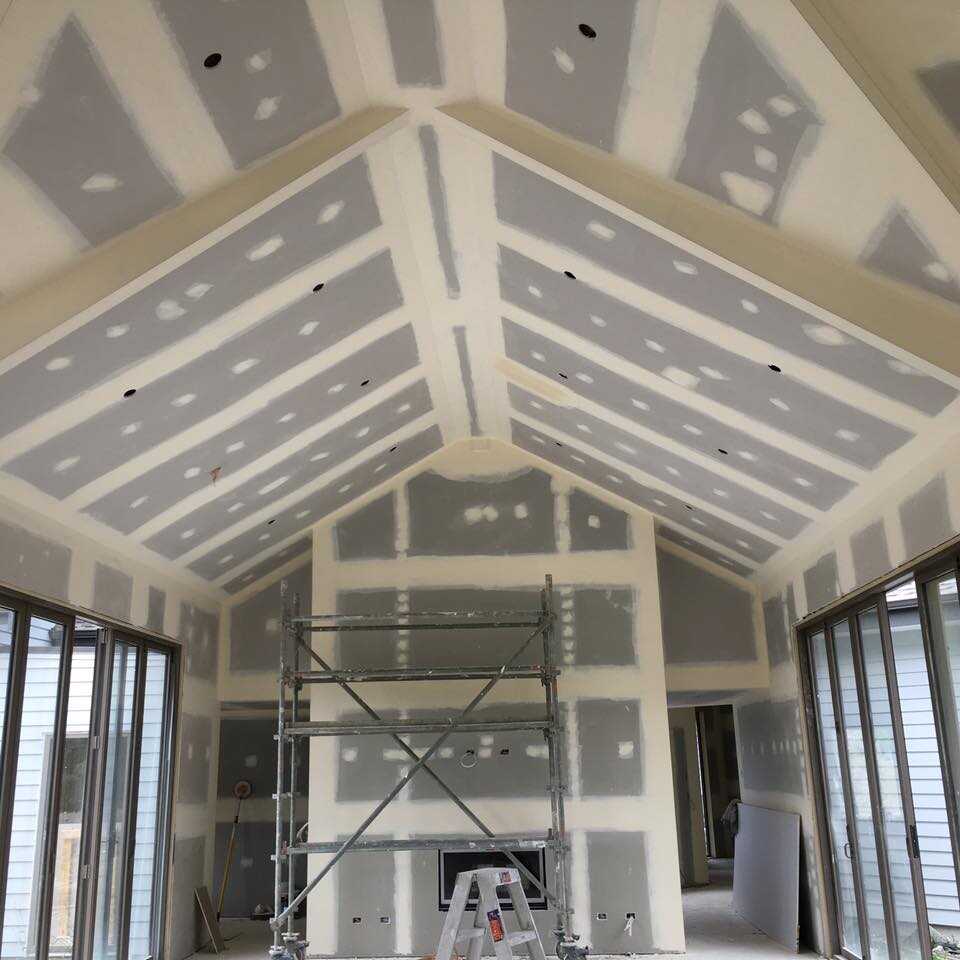
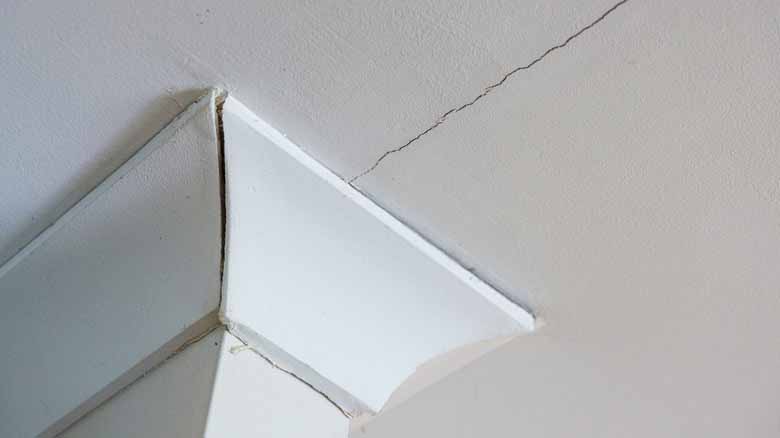
Cracks in ceilings can indicate underlying issues with your home’s structure, moisture levels, or the materials used. As the owner of Pro Fixing®, I know how worrying it is to see a line appear above your head. You might ask yourself why is the ceiling cracking or whether cracked ceilings are a sign of something serious. In many cases a ceiling crack is caused by normal settling, temperature changes, or minor movement in plasterboard. However, some cracks in the ceiling plasterboard can signal a significant problem.
If you have noticed cracks, don’t panic. In most cases they can be repaired without major upheaval. This guide explains how to fix cracks in ceilings, from small hairline cracks to larger gaps, and when to call a professional. It also outlines ways to prevent ceiling cracks in future. Let’s explore five effective methods to repair cracks so you can restore a smooth, safe finish overhead.
Before you pick up a filler or joint compound, take time to determine why the crack has formed. Some common causes include:
Identifying the cause helps you choose the best repair method. If cracks are wide, sagging or accompanied by other signs of damage, consult a structural engineer or a professional builder. Hairline cracks often result from minor movement and can be repaired easily.
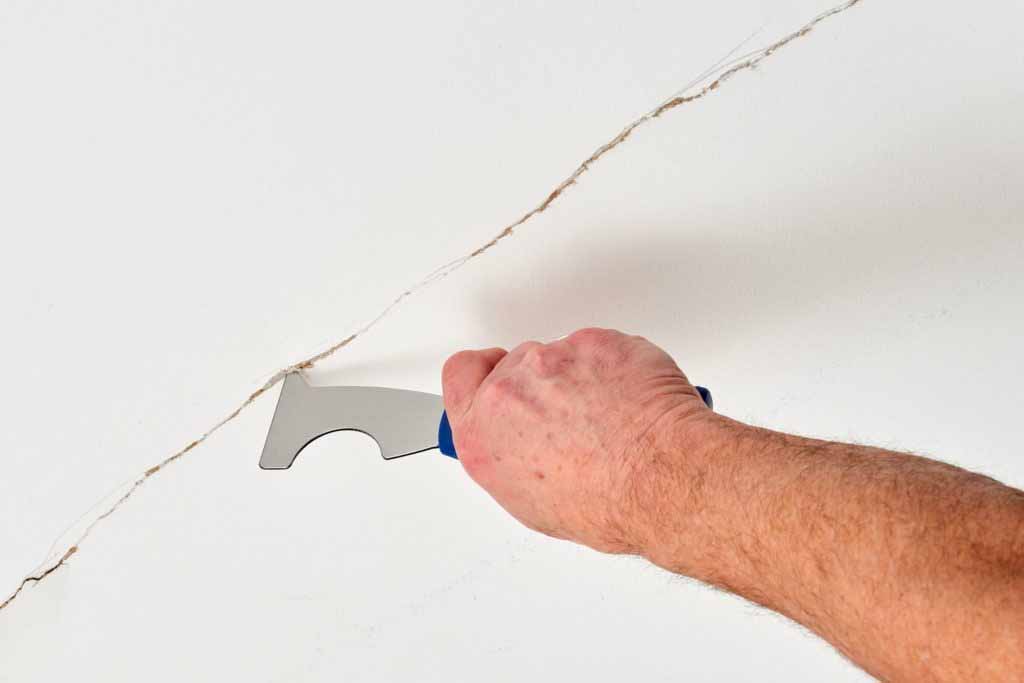
For small cracks in ceiling paint or plaster, a good-quality filler or caulk will do the trick. Here’s how to fix small crack in ceiling plaster:
This method is best for hairline cracks where there is no significant movement. It fills the gap and stops moisture or insects from getting in.
If the crack is longer or wider, such as those that run along plasterboard joints, joint compound and tape provide a stronger repair. To fix a larger crack in ceiling drywall:
This method works well for cracks caused by slight movement between plasterboard sheets. It reinforces the joint and creates a seamless finish.
When cracks are deep or plaster has crumbled away, a more robust solution is needed. In this case, mix plaster or a specialist ceiling repair compound. It is important to use a bonding agent to ensure the new plaster adheres. Here’s how to repair a big crack in the plaster ceiling:
Working with plaster requires patience and skill. If you are not confident, or if the crack is too significant, call in a professional. Our team’s GIB® stopping specialists ensure a smooth result that matches your existing ceiling texture.
Some cracks are too severe for fillers or plaster. If the plasterboard has sagged or there is a crack on the ceiling that is wide and deep, replacing the affected section is often the best solution. As a qualified builder, I recommend this method when cracks run across a large area or are associated with water damage.
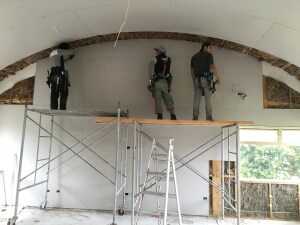
If multiple areas are cracked or sagging, it may be time to install a new ceiling using plasterboard or a specialist system. Our GIB® fixing experts in Auckland can install new boards quickly and ensure the ceiling is properly supported. They coordinate with our interior plastering and painting contractors teams to finish the job, leaving you with a ceiling that looks as good as new.
While many minor cracks can be repaired by a confident DIYer, some situations require professional help. Call a qualified tradesperson if:
Our team at Pro Fixing has more than 15 years of experience fixing, stopping and finishing ceilings in Auckland, Wellington and Hamilton. We can assess the cause, recommend the right repair and handle everything from small cracks to full ceiling replacements. You can read more about how different trades work together in our article on why GIB® fixing and stopping go hand‑in‑hand for superior results.
Once you have repaired your ceiling, follow these tips to minimise the risk of cracks reappearing:
By understanding the causes of ceiling cracks and applying the right repair techniques, you can keep your home safe and looking its best. If you need help, our Pro Fixing team is just a call away.
Pro Fixing®: Best price, high quality, quick and efficient.


We have a large team of 86 highly qualified GIB® Fixers, Stoppers & Painters in Auckland, Wellington, Hamilton with more than 10 years experience. We are prepared for all jobs from residential to large scale commercial sites…Read More
Mon to Fri: 7AM - 5PM
Saturday: 8AM - 4PM
Sunday: Closed